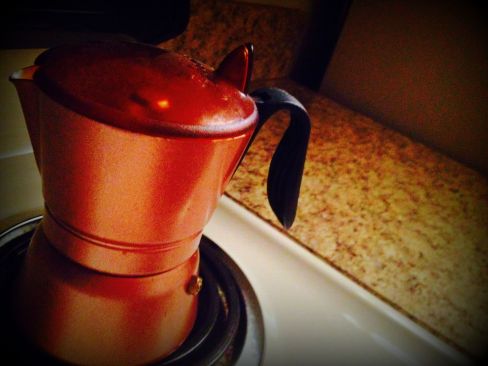
As I write this post, I can see and the outdated Formica countertop in my kitchen with the chipped corner and the wood exposed underneath. Yuck!
Your countertop says a lot about you… your style, how much you like to cook and even how much you like to or don’t like to clean.
 It’s one of the main aspects of your home that people notice.
Replacing or remodeling the countertop is expensive and difficult.
I did a little research and found two options I love.
First, concrete doesn’t cost much and doesn’t take a lot of skill.
My friend and DIYer Ruby Loftin recently completed her first concrete countertop.
“I had seen a blog where someone had also used this product for their kitchen countertop,” said Loftin “And so I got to thinking… well, you know this seems pretty easy. I might be able to do this.”
Ruby found the product she wanted to try at a local flooring store called Ardex Feather Finish.
“It was around $50 for two bags. And actually it took about a bag and a quarter, so I still have quite a bit of one bag left over.”
Here’s what you’ll need:
- Concrete powder
- Bucket
- Putty knife
- Sand paper
- Sealer
- Painters tape
The sealer was the most expensive purchase at about $80.
Ruby started with the sandpaper.
“I got some really rough grit sandpaper and scratched up the existing Formica.”
After sanding, mix the power with water according to directions on the package. Apply a smooth layer with a putty knife…. sand and repeat those two steps until you like the look.
The edges are a more difficult.
“When you mix the concrete solution for the edges you mix it just a little bit thicker so it will stick a little bit better,” said Loftin. “Sometimes it didn’t really want to go on that great with the putty knife, so I would put it on and mold it with my hands.”
Don’t get frustrated if you make a mistake or don’t exactly like the result.
“You can do patching before you do the sealer. And you can even do it after you do the sealer you just have to make sure that you again use your really rough sandpaper and scratch it up.”
LISTEN to the DIY April interview with Ruby Loftin for more details on the concrete countertop and what she did to save money on the backsplash.
“We had to go back and just clean everything. I was gray from all the dust that I had on me as well.”
Here’s a good video tutorial I found from another DIYer.
Another idea is to use paint. There are a variety of finishes that the mother and daughter team came up with at the Plaster Paint Company.
You’ll need different tools depending on the finish. The do sell kits.
From the Plaster Paint Facebook Page, “It is a Formica counter top. It is our Champagne blend kit and will complete about 12 feet of counter space. The kit is 75.00.”
Click HERE for a demonstration on the wear and tear after the project is complete.
I reached out to the ladies for an interview so I can take you through each process step-by-step. Check back here for that in a few weeks!

This is great!
LikeLike
Mom! You thought my artwork was fab when I was 10-year-old…. hahaha.
LikeLiked by 1 person